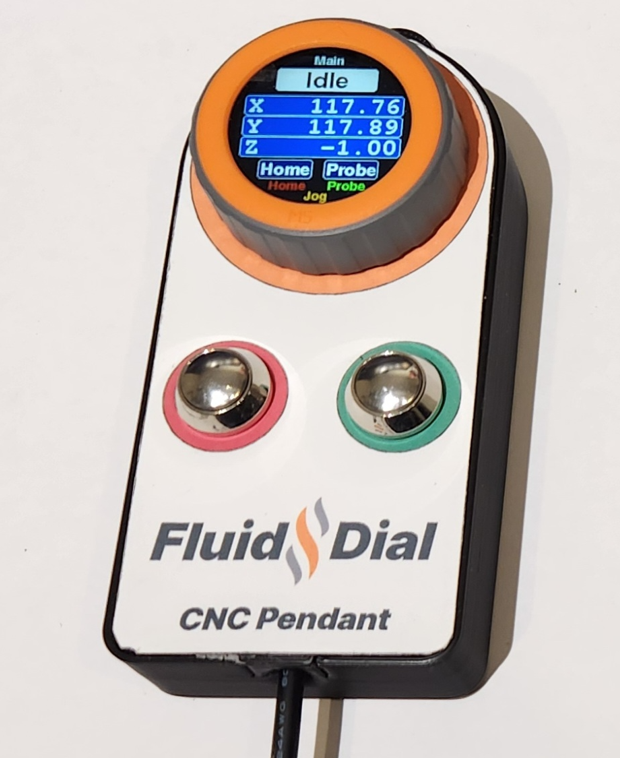
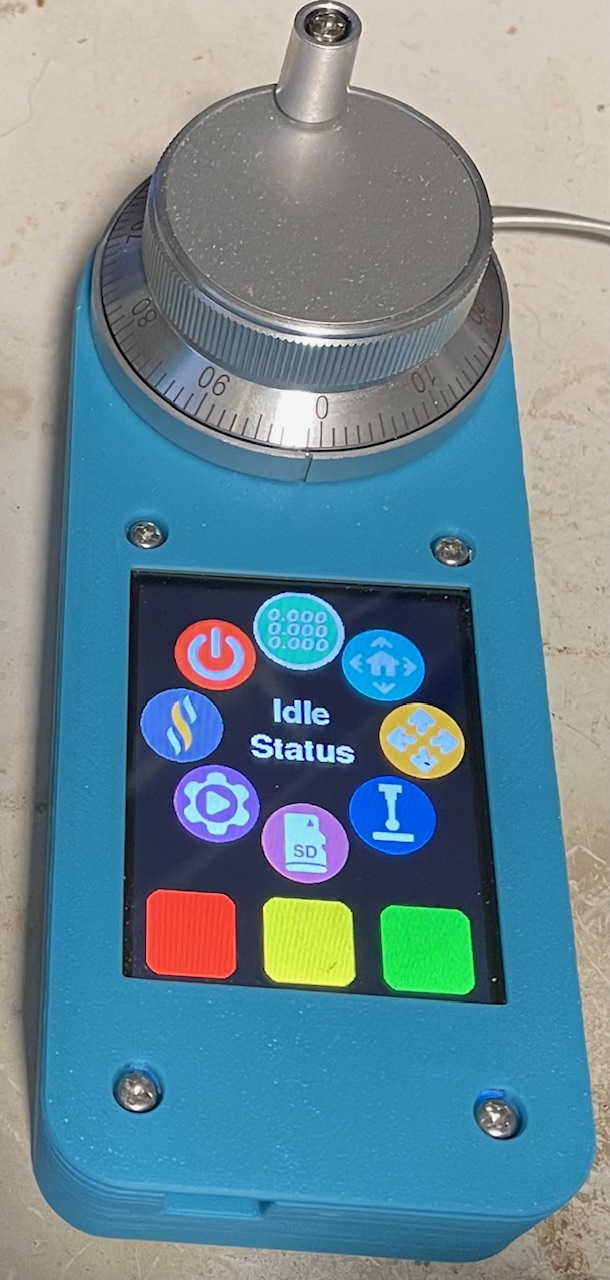
Wiki pages for more information: M5 FluidDial Pendant (left image) and CYD Dial Pendant (right image).
Both have similar functionality and similar cost, using different hardware.
FluidDial supports two connection modes — WiFi and Wired (UART) — and is fully compatible with both the M5Dial and CYD pendant hardware.
In WiFi mode the pendant communicates with FluidNC over WebSockets on your local network. In Wired mode it uses the physical UART serial connection. The active mode is persisted across reboots and can be switched at any time from the Connection Settings screen.
- DRO — real-time X/Y/Z work coordinate display with configurable decimal places
- Homing — single-axis or full-machine homing with per-axis status feedback
- Jogging — multi-axis jog with encoder control, configurable step size, and one-tap axis zeroing
- Probing — Z-probe routine with configurable travel, feed rate, retract, and tool offset
- SD File — browse and run G-code files directly from the FluidNC SD card
- Macros — store and execute custom G-code macros from the pendant
- Captive portal setup — configure WiFi credentials directly from your phone or browser
- Battery indicator (experimental, M5Dial only) — battery level shown in the status bar when running on battery power
The easiest way to flash FluidDial is with the FluidDial Installer — no build tools required. Connect your pendant via USB and follow the on-screen instructions.
On first boot, the pendant displays a Connection Mode setup screen. Tap Wired or WiFi to choose your transport. This choice is saved and can be changed later from the Connection Settings screen.

If you selected WiFi, the pendant starts an open access point named "FluidDial".


- Connect your phone or computer to the FluidDial Wi-Fi network
- Open a browser and navigate to 192.168.4.1
- The captive portal will appear — scan for your home/shop network and select it
- Enter your WiFi password and the hostname or IP address of your FluidNC machine
- Tap Save — the pendant will restart, connect to your network, and establish a WebSocket connection to FluidNC
Tip: If connecting to FluidNC's own default AP network, use these defaults:
Field Value SSID FluidNC Password 12345678 Hostname 192.168.0.1
mDNS: You can use a hostname like
fluidnc.localinstead of an IP address. The pendant resolves.localnames automatically via mDNS.
The Connection Settings screen shows the current WiFi status and lets you switch modes or reconfigure.
Connected:

Shows the connected network name, FluidNC address, and WebSocket status. Press Setup (green) to re-enter AP mode if you need to change credentials.
- Back (red) — return to the menu
- More (orange) — display orientation settings (CYD only), restart, and sleep (M5 dial only)
- Switch to Wired / Switch to WiFi button — toggle connection mode and restart
The main menu uses a circular pie layout. Each wedge navigates to a function.

Displays X/Y/Z work coordinates. The active jog axis is highlighted in green. Rotate the encoder to jog. The red digit shows the currently editable decimal place.

Configurable Z-probe routine. All parameters are editable on-screen before running.

| Parameter | Description |
|---|---|
| Offset | Tool length offset applied after probing |
| Max Travel | Maximum distance to travel looking for the probe |
| Feed Rate | Probing speed (mm/min) |
| Retract | Distance to retract after contact |
| Axis | Axis to probe (typically Z) |
Requires PlatformIO. Install the PlatformIO IDE extension for VS Code or use the CLI.
| Environment | Hardware |
|---|---|
m5dial |
M5Stack M5Dial |
cyddial |
CYD (2432S028) — auto-detects resistive or capacitive touch |
For example, to build and flash the CYD Dial:
pio run -e cyddial --target upload